If you use the Whirlpool washing machine frequently, the pump may become clogged. If emergency measures are not taken, sooner or later more serious problems will begin with the pump, and it will fail altogether. To avoid this, let's figure out how to clean the drain pump in a washing machine.
If there are problems with the pump, a number of characteristic signs will appear by which you can easily determine that the pump is faulty. Among them:
What caused the appearance of such symptoms in your washing device? We already understood that pump clogging is to blame, but why does it happen? The fact is that the drain path needs to be periodically cleaned, and if this is not done, all the debris that gets there during washing clothes (hair, dust, threads) or from the drain pipe gradually clogs the pump. Also, some cheap detergents are poorly soluble, and sediments formed after their use also remain in the tract. This subsequently leads to failures.
So, open the instructions and carefully look at where the Whirlpool washing machine pump is located, so as not to waste a lot of time looking for it and not damage other parts. If you are sure that you have figured it out, prepare two types of screwdrivers: flat and Phillips, as well as an open-end wrench and some kind of flat container. The container is needed to prevent water from the pump from spilling onto the floor. First, disconnect the unit from the power supply and water supply for your own safety in order to avoid unexpected problems.
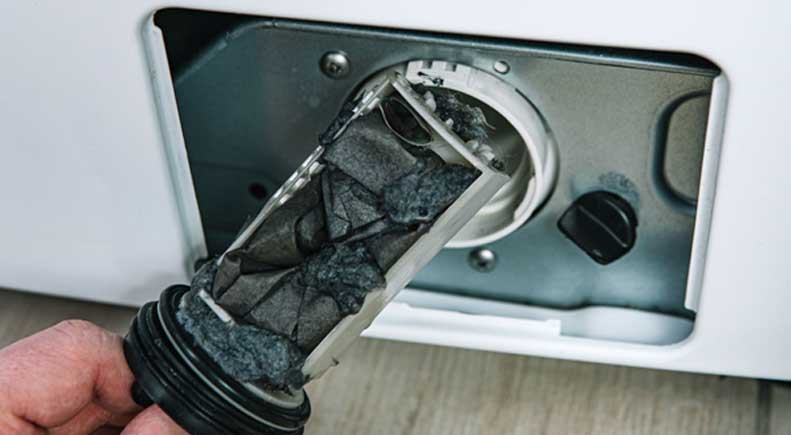
Now you can proceed directly to dismantling. Open the small door on the baseboard panel of the washer (it's located at the bottom front). There is a filter there. Unscrew it using gentle counterclockwise movements. Depending on the model, the filter may also be secured with an additional bolt. Then unscrew it with a screwdriver!
The pump is located at the bottom of the machine, one might say, at the bottom. Sometimes the bottom of the car is not covered with anything, and sometimes manufacturers attach an additional panel there. To get to the pump, you need to remove it. You can also place the machine in a position that is convenient for you so that you can freely interact with the contents of its lower part.
When you see where the pump is located, loosen the clamps of the pipes and free the pump from them. You need to remove everything that holds it in the car: bolts, clamps, fasteners. When the job is done, take out the pump and start cleaning.
The pump design consists of two parts: the so-called volute and the pump itself with an impeller. In order to clean it, the structure will need to be disassembled, but this is not at all difficult: unscrew a few screws that connect the parts. Now you can take a closer look at the impeller. Usually, this is where the problem lies: all the debris wraps around it and interferes with the normal functioning of the pump during operation. Remove any debris from it, assemble the pump and put it in place.
Place the machine in its original position, connect to all communications and start the wash, then watch how the water drains. If everything is fine, then you did it. If the problem persists, then the pump needs to be replaced: it has failed. Here are a few simple rules to avoid premature pump failure.
That's all! In fact, maintaining the condition of your home assistant is not so difficult, you just need to do it regularly, otherwise worse problems will appear!
Copyright © 2020 Coimbatore Service.