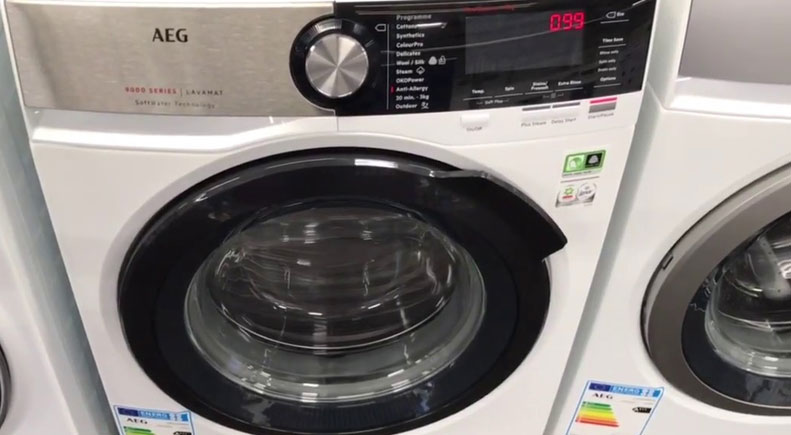
You put the laundry in the drum, poured the powder into the dispenser, closed the door, and plugged in the power cord. However, the dashboard does not light up with LEDs, and the equipment does not respond to entered commands. We will tell you what to do if the AEG washing machine does not turn on, we will help you carry out diagnostics and find out the cause of the malfunction.
Even if you know absolutely nothing about repairing washing machines, it is obvious that LED lights that do not light up indicate a loss of connection to the power grid. Without current, equipment cannot work. Therefore, you will need to check the electronics and electrics: somewhere inside or outside the machine the contact is broken. The search begins with banal things:
What to do in this situation? Consistently check all areas of potential failure until you find a failure. Evaluate the state of the general network, the inside of the equipment, and the dashboard one by one.
One of the most common reasons that the washing machine does not start is the lack of light in the room. This is especially true for summer cottages and private houses, so first click the switch in the room and check if there is light. Be sure to inspect the shield to see if the machine or plugs have been knocked out. In the event of an internal network fault, starting the washing machine can become a trigger for the operation of a residual current device (RCD). Sometimes it is enough to turn off other electrical appliances to reduce the load on the wiring.
The next stage is assessing the performance of the outlet. Smoke, burning smell, melted plastic are a sure sign of burnt contacts. If you do not notice any visible damage, try connecting any device to the outlet that is working. It works, so we will continue to look for the breakdown.
The socket melts when there is a short circuit, too powerful devices are connected, or poor contact. If you know how to change the socket yourself, it is better to purchase a new element with a ceramic base. Check the condition of the washing machine's power cord - often the ends of the plug melt when shorted. Be sure to secure the outlet tightly to the wall so that it does not wobble.
If everything is fine with the listed parts, we move on to studying the performance of the washing unit itself. The most common culprits of failure are the plug, power cord and interference filter. And since on AEG machines these elements are inseparable from each other, they are checked together. The procedure for troubleshooting will be as follows:
We inspect the plug for damage, then use a multimeter to test the cord. Before use, set the tester to resistance mode and close the probes - the number zero will appear on the display, this will mean that the device is working. Then we turn on the dialling mode on the multimeter; if there is a connection between the areas being tested, you will hear a sound signal.
If a leak is detected, the cord must be replaced. Local repairs using twisting or electrical tape are excluded. Otherwise, you may get a repeated break, short circuit, and fire.
The second in line is the noise suppression filter. In the same testing mode, we connect the multimeter probes to the filter contacts, and if the answer is positive, we simultaneously measure the resistance. If zero or one appears on the display, it means the capacitor will need to be replaced. To replace it yourself, buy a new FPS (considering the model of the machine) and alternately switch the connectors from the old part to the new one.
If you still have not discovered the problem, the dashboard may be to blame. Examine the “Start/Pause” key; when it is closed, the entire unit is de-energized. The latest generation AEG models are protected from such a malfunction, but equipment from 15-20 years ago often suffers in this way. To test the button, you will need:
Once you have made sure that the button is intact, measure the resistance on all other keys on the dashboard, including those rarely used. If everything is in order, all that remains is to check the control module (located immediately behind the dashboard). Diagnostics and repair of a module is a complex and responsible matter. You can simply inspect it superficially and look for burns and visible damage on the board. Otherwise, it is better to entrust troubleshooting to professionals, since a new electronic unit is quite expensive.
Copyright © 2020 Coimbatore Service.